How to Repot Houseplants Without Damaging Their Roots (Beginner-Friendly Guide)
🌱 Introduction
So, your plant looks like it’s busting out of its pot or the soil just isn’t holding moisture anymore? You’re probably overdue for a repot—but don’t worry! Repotting isn’t as intimidating as it sounds, even if you’re just getting started with houseplants.
In this post, we’ll walk you through everything you need to know to repot your indoor plants—from spotting the signs to doing it safely and keeping those roots happy.
🔍 Signs Your Houseplant Needs Repotting
Not sure if it’s time? Watch out for these telltale signs:
- 🧵 Roots poking through the drainage holes
- 🚿 Water runs straight through the pot without being absorbed
- 🪴 Pot looks too small or plant is top-heavy
- 🍃 Yellowing leaves or stunted growth
- 🪨 Soil looks compacted or crusty on top
👉 Tip: If your plant looks unhappy and it’s been over a year since you repotted—it probably needs a fresh start.
🧰 What You’ll Need to Repot a Houseplant
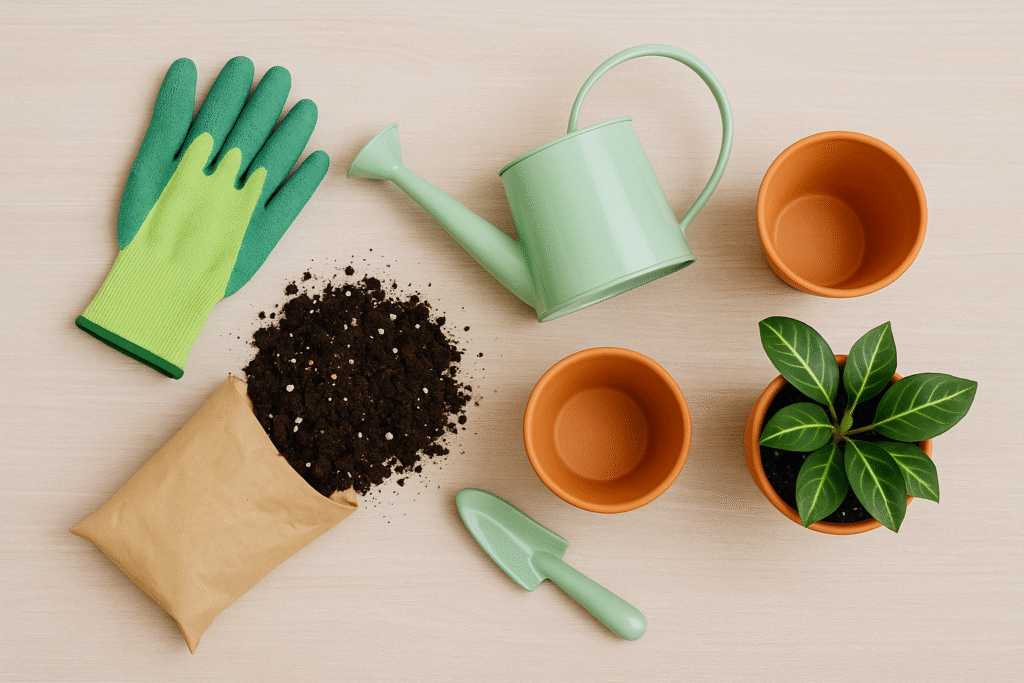
Before you begin, gather these essentials:
- A new pot—1 to 2 inches larger in diameter (with drainage holes)
- Fresh potting mix suited for your plant (not garden soil!)
- Hand trowel, gloves, and a watering can
- Optional: pruning shears for root trimming or dead foliage
- 🪴 See our guide: Essential Gardening Tools Every Beginner Needs
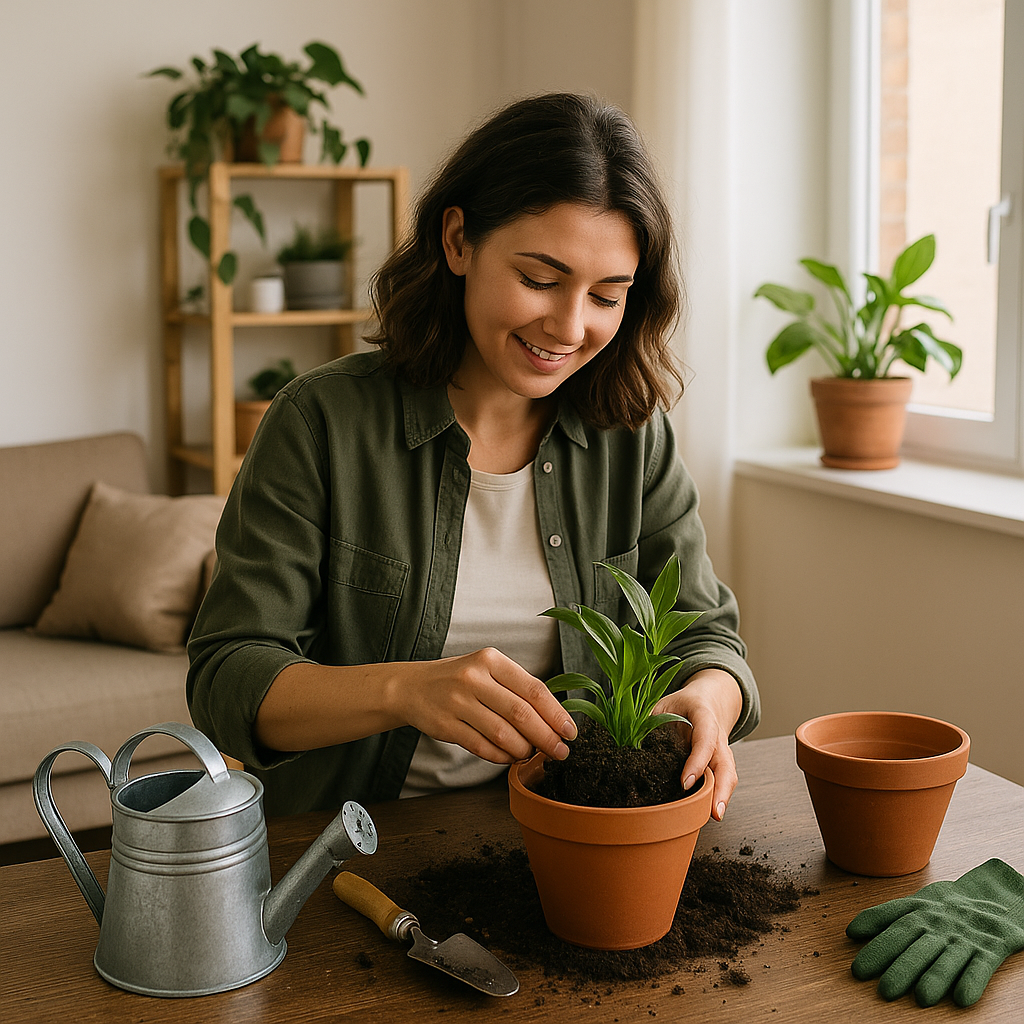
📝 Step-by-Step Guide: How to Repot Without Damaging Roots
1. Water the Plant a Few Hours Before
This makes the soil softer and helps reduce root breakage.
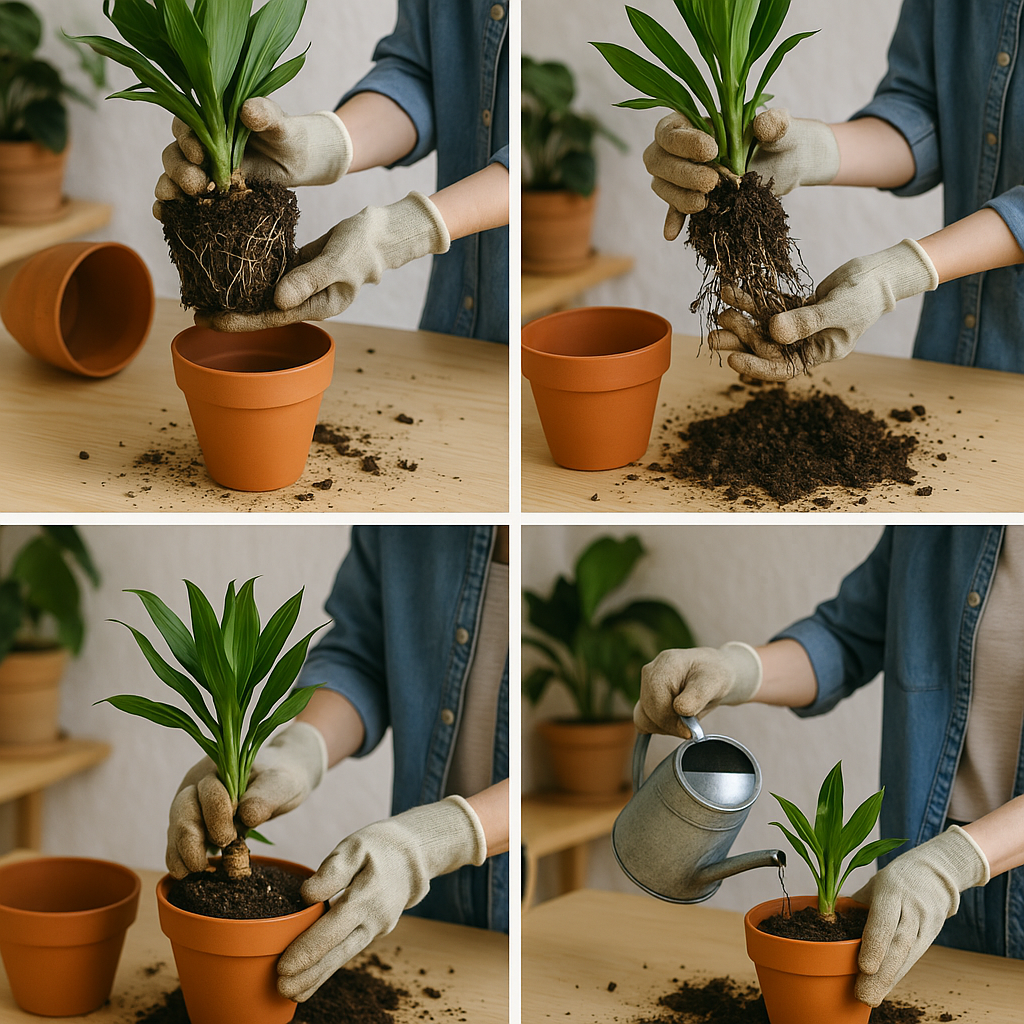
2. Remove the Plant Gently
Tilt the pot, tap the sides, and support the base of the plant. Be gentle if the roots are clinging to the sides.
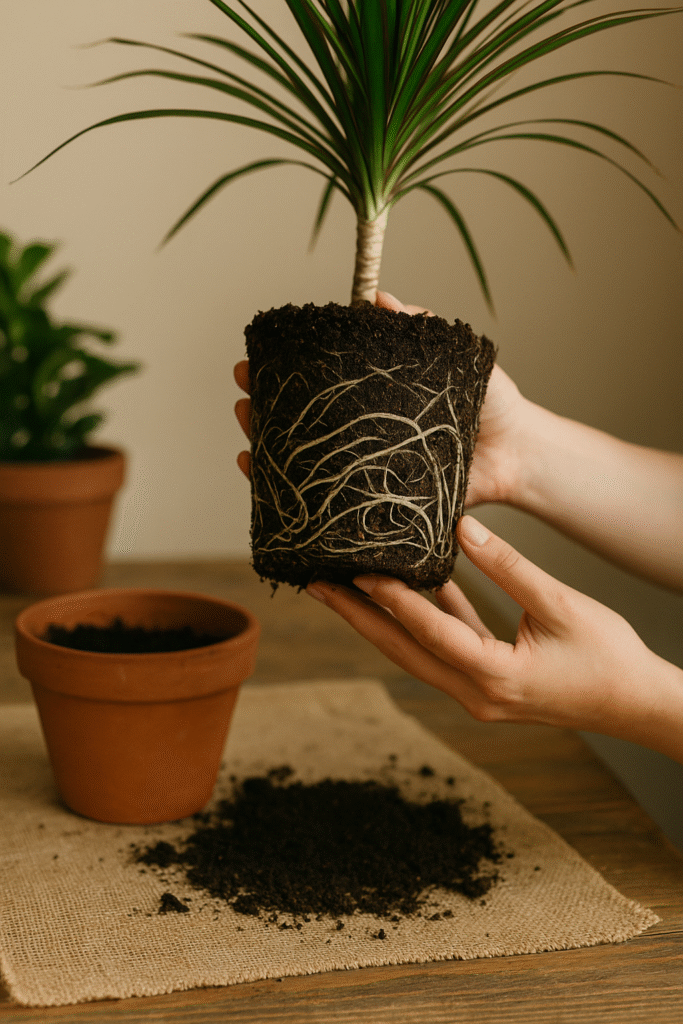
3. Inspect and Loosen the Roots
Untangle circling or bound roots with your fingers. Trim mushy, rotten, or blackened roots with sterilized shears.
4. Add Fresh Soil
Place a layer of new potting mix at the bottom of the new pot—enough to raise the plant to its old height.
5. Center the Plant
Place the plant in and fill the sides with soil. Tap the pot to eliminate air pockets and gently press down to secure the plant.
6. Water Thoroughly
Give it a good soak to help settle the soil—but make sure water drains out fully.
⚠️ Common Repotting Mistakes to Avoid
- Using a pot that’s too large – this can cause overwatering
- Skipping root inspection – don’t just plop and cover!
- Packing the soil too tightly – roots need air
- Overwatering right after repotting – water thoroughly once, then let the top inch dry out
🌿 Aftercare Tips
- Avoid direct sunlight for a few days to reduce stress
- Don’t fertilize for 2–4 weeks
- Monitor closely – some leaf drop is normal, but wilting or black roots could indicate rot
- Rotate the pot weekly for even light and growth
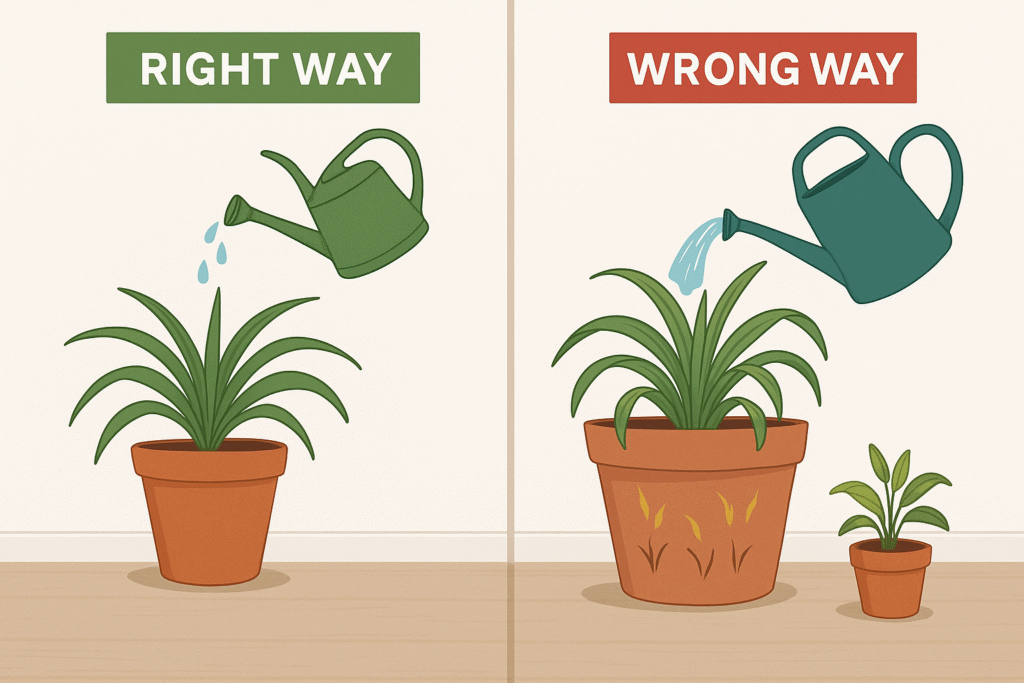
For more plant TLC, check out: How to Water Houseplants the Right Way
🌸 Bonus: Repotting Tips by Plant Type
| Plant | Repotting Tip |
|---|---|
| Succulents | Use dry soil and avoid deep pots |
| Ferns | Like snug pots and humidity—don’t overdo watering |
| Monsteras | Need space to grow and a stake for support |
| Peace Lilies | Sensitive—repot gently and in spring if possible |
🌼 Final Thoughts
Repotting may sound like a big task, but once you do it once or twice, you’ll feel like a plant pro. It’s one of the most rewarding ways to keep your houseplants thriving and looking their best.
💬 Have you repotted a plant recently? Share your experience or tips in the comments—we’d love to hear from you!