How to Build a Stylish Outdoor Bench on a Budget (No Experience Needed!)
🌱 Introduction
Looking to add a cozy seating area to your garden, patio, or balcony without spending a fortune? Building your own DIY outdoor bench is a rewarding project that lets you create functional, stylish furniture for a fraction of the cost.
Even if you’re new to woodworking, this guide will walk you through the process—step by step—so you can craft a custom bench that fits your space perfectly.
Let’s get started!
🔨 Benefits of Building Your Own Outdoor Bench
Why build instead of buy?
- Save Money: DIY benches cost much less than store-bought options.
- Customize Size: Build it to fit your balcony, patio, or garden corner.
- Eco-Friendly: Use reclaimed or sustainable wood.
- Satisfaction: There’s something special about sitting on furniture you made yourself!
🧰 Tools and Materials You’ll Need
Before you begin, gather your tools and materials.
Tools:
- Measuring tape
- Saw (handsaw or circular saw)
- Power drill + screwdriver bits
- Sandpaper or electric sander
- Paintbrush or roller (for finishing)
- Safety goggles and gloves
Materials:
- Wood planks (pine, cedar, or reclaimed wood recommended)
- Screws or nails (outdoor-rated)
- Wood glue (optional for extra hold)
- Outdoor paint, wood stain, or sealant
📐 DIY Outdoor Bench Plans
Here’s a simple bench plan you can adjust based on your space:
| Part | Size (inches) |
|---|---|
| Bench seat | 48″ long x 14″ wide |
| Legs (4x) | 18″ tall |
| Support beams | 44″ long (to connect the legs underneath) |
🛠️ Step-by-Step Building Guide
Follow these instructions to build your bench:
Step 1: Measure and Cut Your Wood
Use your measuring tape to mark your wood planks, then cut the seat, legs, and supports to size. Double-check measurements before cutting.
Step 2: Assemble the Legs
Attach two legs to each end of the support beams using screws or nails. This creates two “H” shaped side frames for stability.
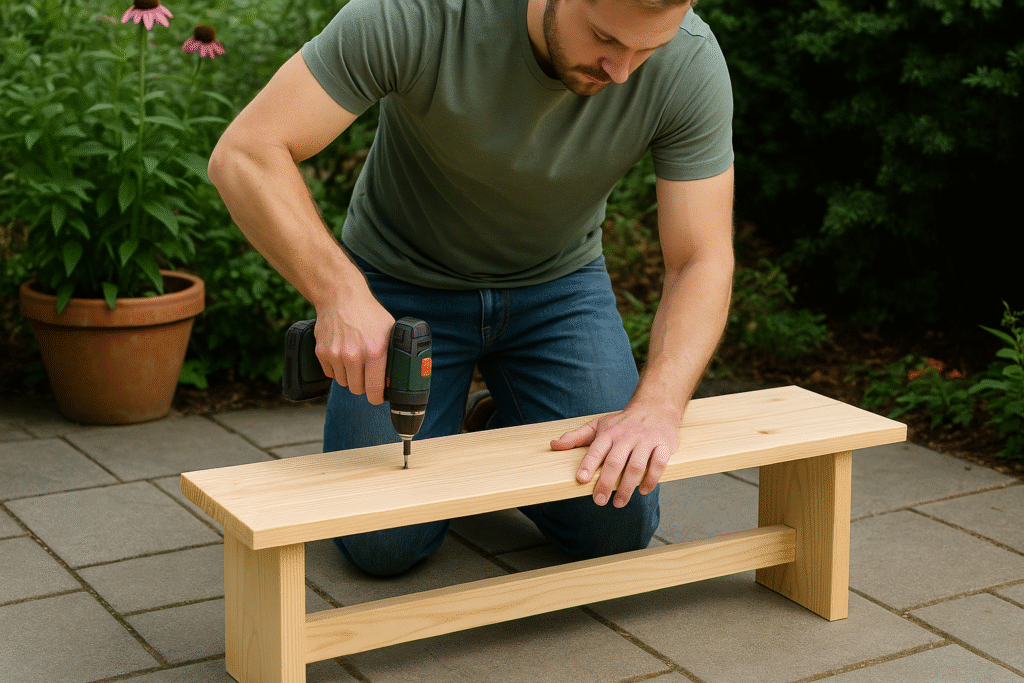
Step 3: Attach the Bench Seat
Place your seat plank across the leg frames and screw it into place securely. Make sure the seat is level.
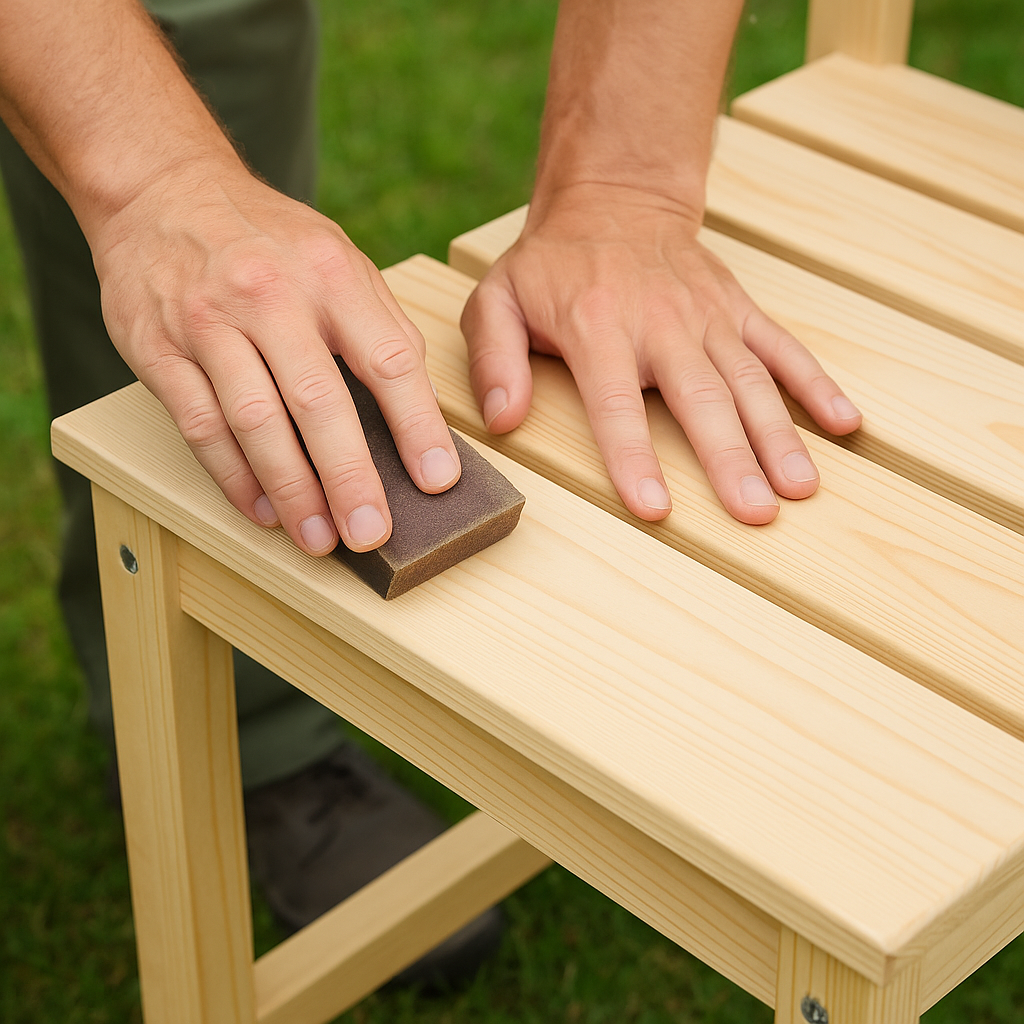
Step 4: Sand the Edges
Use sandpaper or an electric sander to smooth all edges and surfaces. This prevents splinters and gives your bench a polished look.
Step 5: Apply Outdoor Finish
Protect your bench from the weather by sealing it with outdoor wood stain, paint, or clear sealant. Let it dry completely before using.
🎨 Design Variations and Finishing Ideas
Make your bench match your style with these ideas:
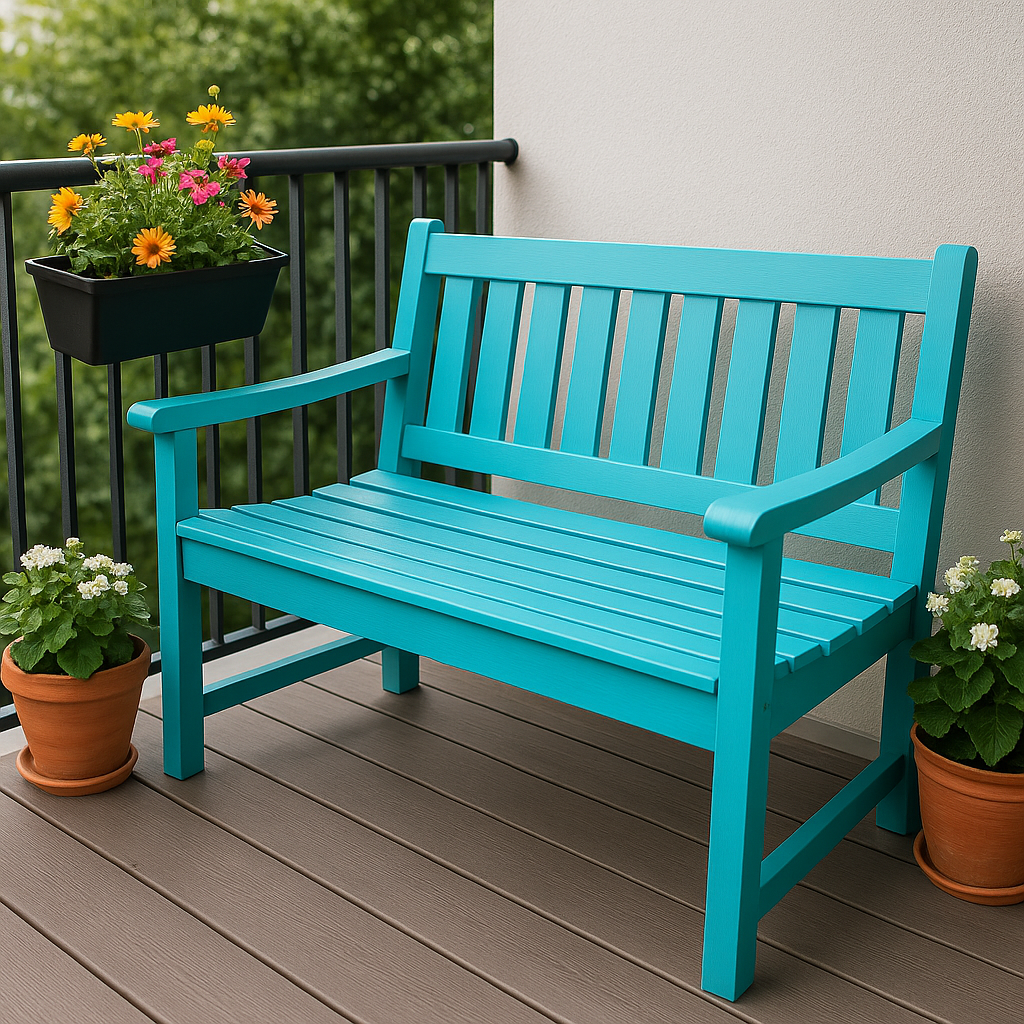
- Paint it bright colors for a modern, playful look
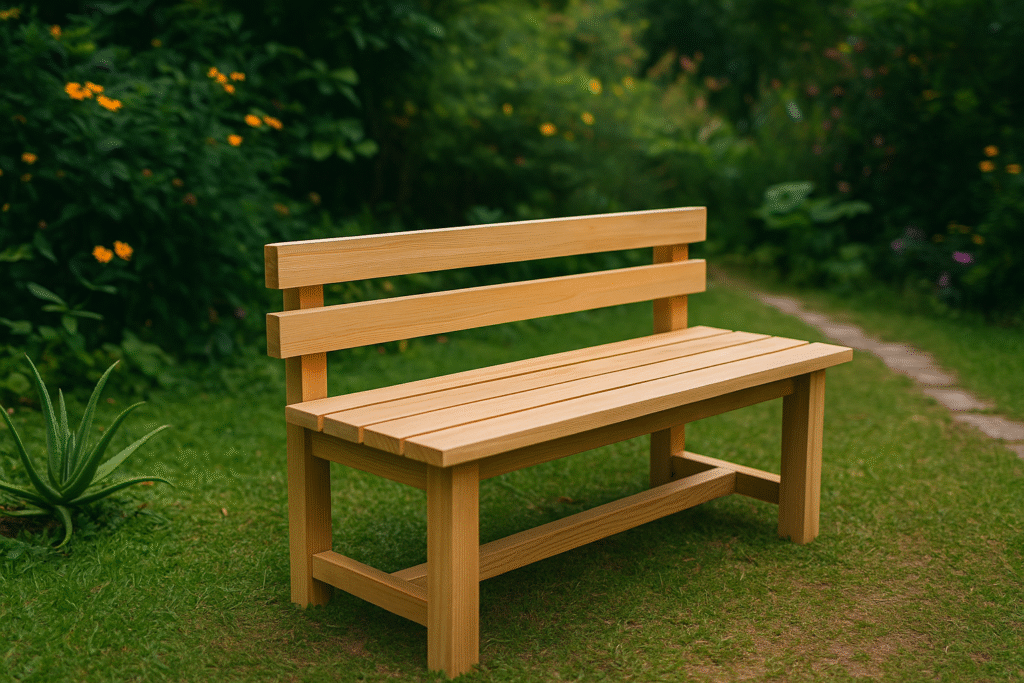
- Stain it dark or natural for a rustic vibe
- Add cushions or pillows for extra comfort
- Incorporate storage under the seat for gardening tools (optional)
🚫 Common Mistakes to Avoid
- Not measuring your space first—ensure your bench will fit!
- Using untreated wood—outdoor use requires weather-resistant materials
- Skipping sanding—this can lead to splinters
- Forgetting to seal the wood—exposure to rain and sun will cause damage without protection
🪴 How to Use Your Outdoor Bench
Once you’re finished, your bench can become a versatile addition to your outdoor space:
- Relax in your garden or balcony
- Create a reading nook surrounded by plants
- Use it as a potting bench for garden tasks
- Add potted plants beside it for cozy décor
🎯 Final Thoughts
Building a DIY outdoor bench is a fun project that adds charm and functionality to your garden or balcony. With just a few tools and some simple materials, you can create your own seating space to relax and enjoy the outdoors.
So grab your tools, roll up your sleeves, and give it a try!
💬 Have you built your own garden bench? Share your project photos or tips in the comments—we’d love to see your creations!
One Comment